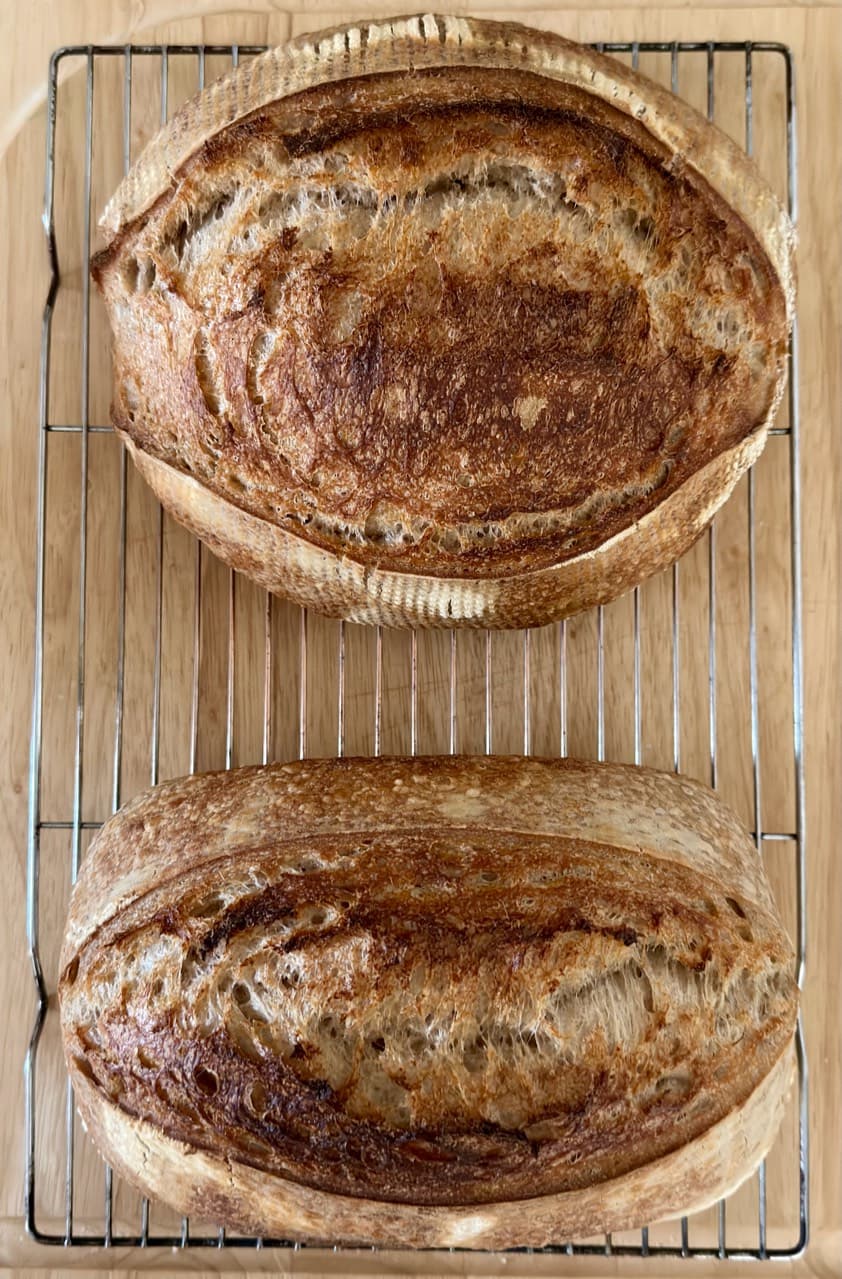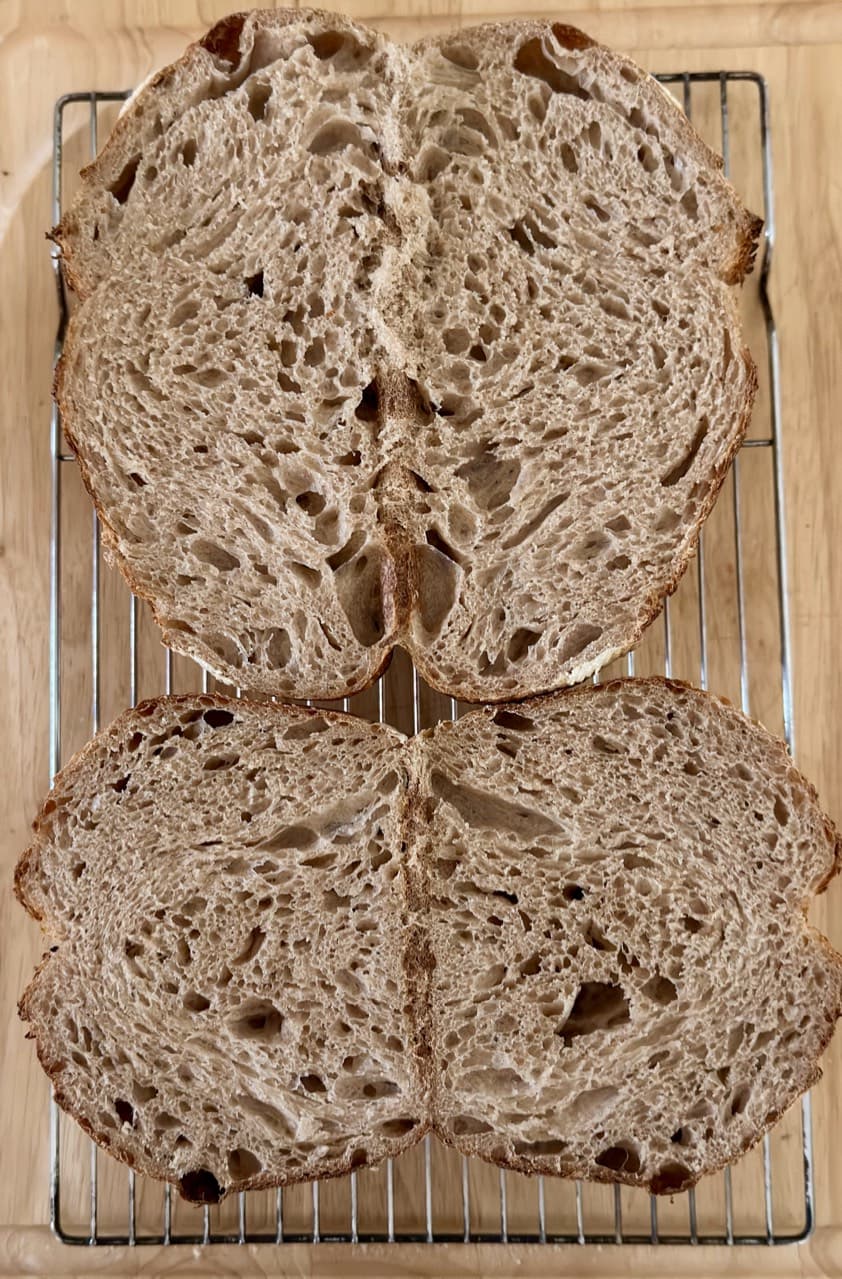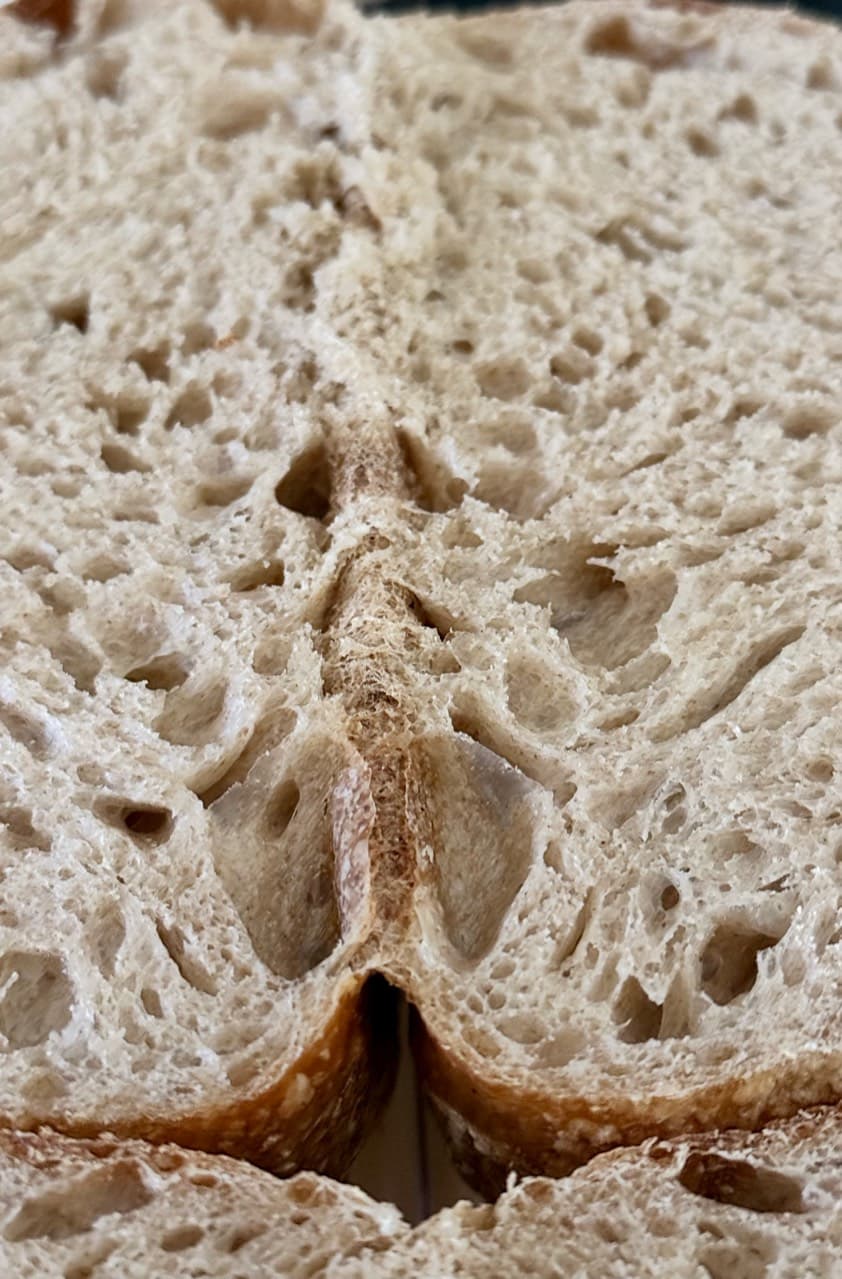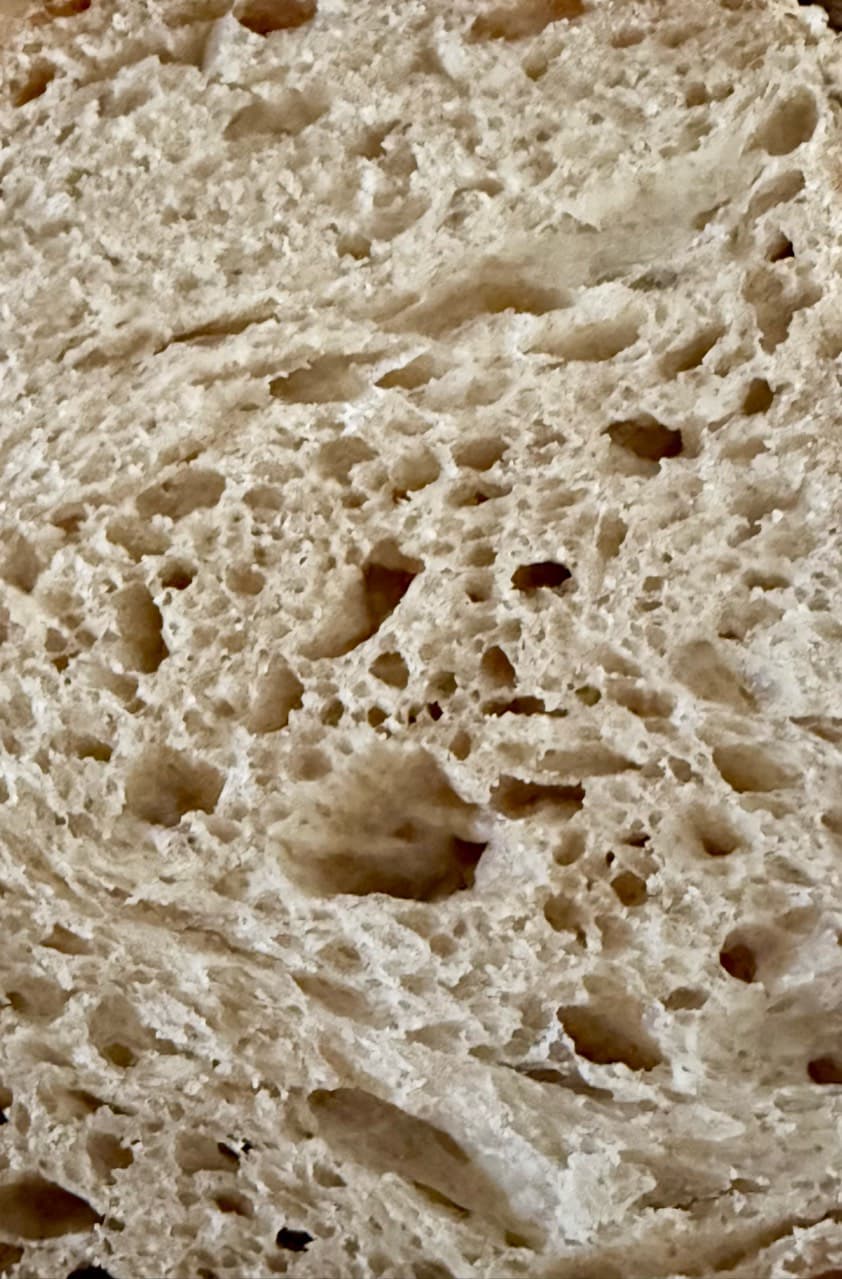
Making 2 sourdough loaves, back at it! September 15 Like I always say (and never get tired of repeating): every great sourdough loaf starts with an active starter that's hit its peak. If your starter isn't strong, bubbly, and full of life, your results will be hit-or-miss and usually just lead to frustration. The perfect starter should look like the one I always show you: super active, bubbly, and strong. ➡️ Recipe This time I made 2 loaves, about 900g each, at 70% hydration. ➡️ What I used: * 70% bread flour / high protein flour / 000 flour * 30% whole wheat flour * 20% sourdough starter * 2% salt ➡️ Process ➡️ First, I tossed these into the mixer bowl: * water * sourdough starter I mixed it for a few minutes until the starter dissolved completely and there were no lumps left. Then I added the flours and salt, mixing for just a couple of minutes until everything came together. ➡️ Next up, a 60-minute autolyse. After that, I let the dough hook do the work for about 8 minutes to build a solid gluten network. Once done, I checked to make sure the gluten was well-developed. ➡️ Then, I moved the dough over to the counter for some Bertinet-style slap and folds. This step works wonders to make the dough: * smoother * more even * less sticky You can actually feel it build tension and structure super fast. ➡️ After that, I let it rest covered for 30 minutes so the gluten could relax. ➡️ Time for folds! I did a series of stretch and folds and repeated it 3 more times. Folds are massive for building a strong, healthy gluten structure. ➡️ You always have to learn to read your dough: * to see if it needs more work * or if it's good to go ➡️ Next, I split the dough into two equal parts. Doing this makes things way easier to handle separately and helps keep a close eye on the fermentation. It also keeps it from over-proofing before heading into the fridge. ➡️ Then, I put each piece into a lidded plastic container with marker lines. I let them ferment in a warm spot until they grew about 40% to 60%. I never go by the clock alone. ➡️ The secret is watching: * how the dough behaves * how much it actually grew * the temperature I try to keep the dough sitting right between 25°C and 27°C. ➡️ Once the fermentation hit the sweet spot: * I turned it out * did a pre-shape * then the final shape I focused on getting great surface tension so it gets a killer oven spring. After that, they went into bannetons and straight into the fridge for about 20 hours. ➡️ When time was up, I popped the loaves into the freezer for 2 to 3 hours. This step is a total game-changer because: * it holds its shape way better * it makes scoring a breeze * it keeps the dough from deflating Straight out of the freezer ➡️ scored ➡️ right into the pot. ➡️ Baking With the Dutch oven screaming hot: * 30 minutes at 250°C with the lid on * 5 minutes at 220°C with the lid off Taking the lid off gives it that deep, intense golden crust. Right after scoring, I gave it a light mist with water. I absolutely love watching those blisters pop up while it bakes. Final internal temp: 99°C Final weights: 838g and 834g. ➡️ Finally, the absolute best part: slicing and digging in. This time I’m actually waiting until tomorrow to slice it up. Waiting makes a massive difference for the texture and crumb structure!